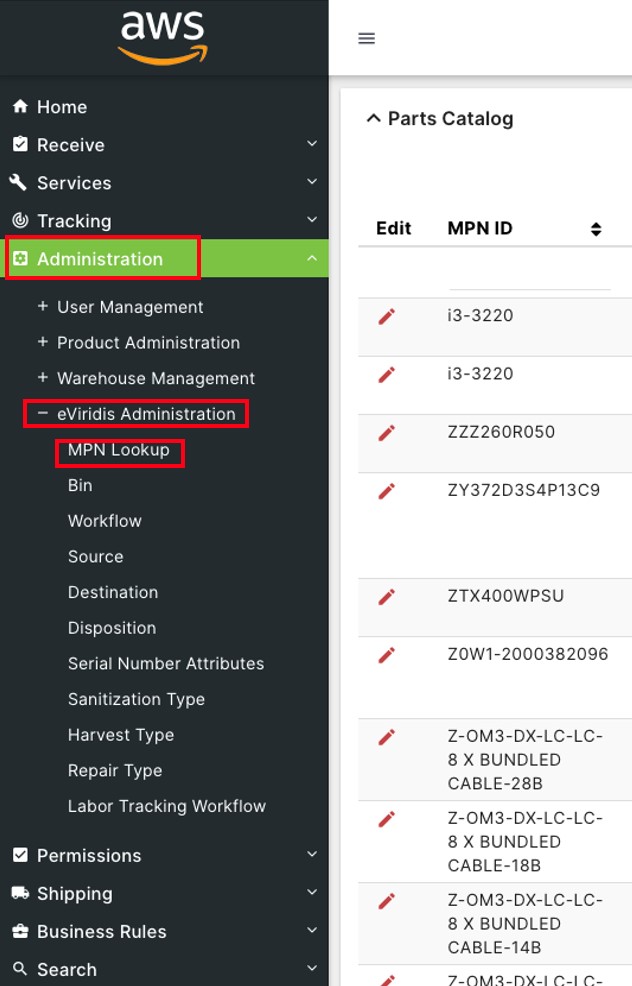
The MPN Lookup second level page controls MPNs in the system.
Click on Administration to open the sub-module list. Click eViridis Administration to open the second level page list. Choose MPN Lookup.
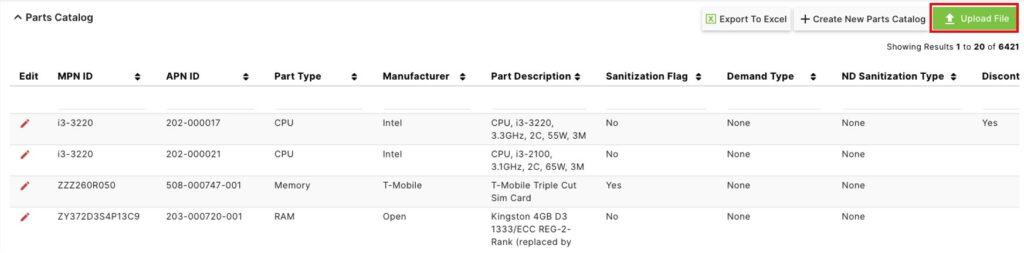
Click Upload File to upload a bulk list of MPNs. The MPN list can be exported to Excel for the proper upload file format.
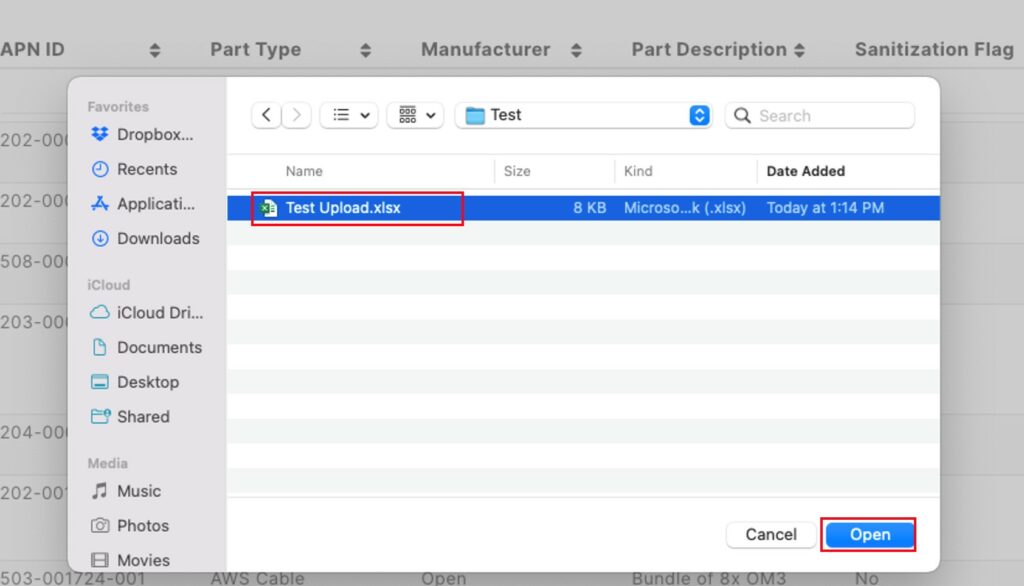
Highlight the file to be uploaded and click Open.
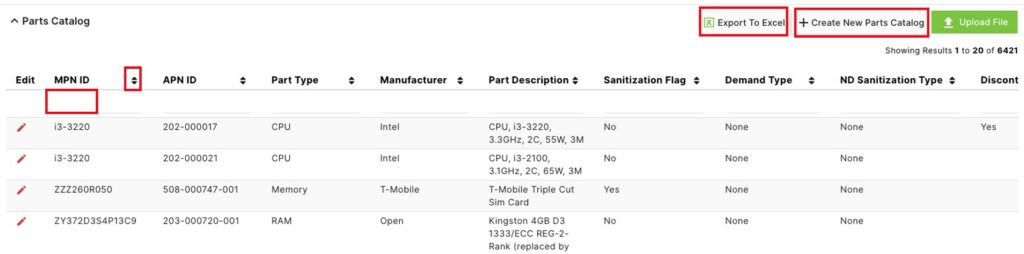
On the Parts Catalog page, click  to sort by MPN ID, APN ID, Part Type, Manufacturer, Part Description, Sanitization Flag, Demand Type, ND Sanitization Type, Discontinue Test Support, Repair Type, Fa Capability Type, RMA Type, Liquidation Type, Harvest Type, EXT MPN ID, Coo ID, WW Eligibility, or WW Priority Type.
Type in the space below any of the above header categories to filter them.
Click Export to Excel to download the parts catalog list.
Click + Create New Parts Catalog to add a new MPN to the system.
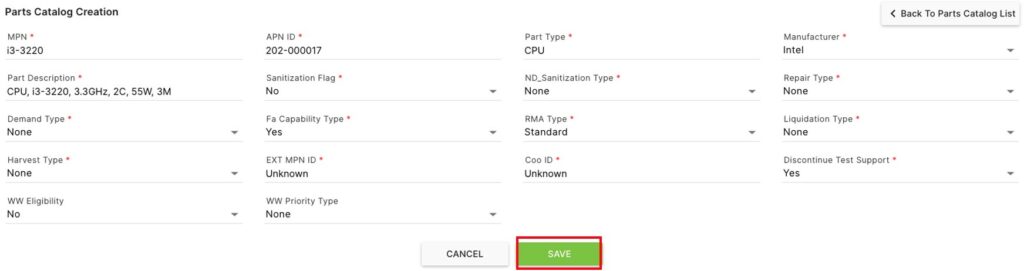
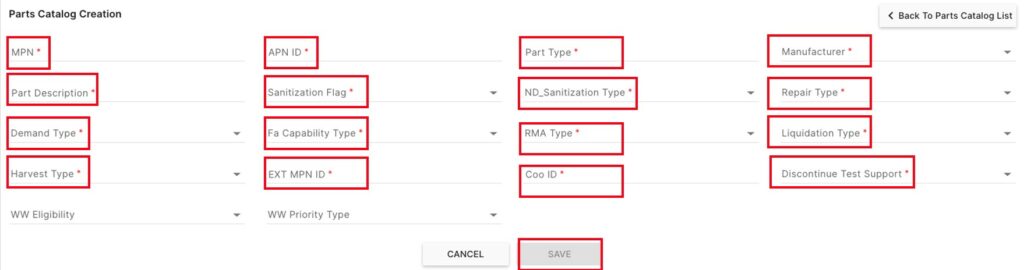
On the Parts Catalog Creation page, enter a MPN, APN ID, Part Type, Part Description, EXT MPN ID, and Coo ID. Choose a Manufacturer, Sanitization Flag, ND Sanitization Type, Repair Type, Demand Type, Fa Capability Type, RMA Type, Liquidation Type, Harvest Type, and Discontinue Test Support from the drop-downs and click Save.
Optionally, choose WW Eligibility and WW Priority Type from the drop downs and click Save.
On the Parts Catalog page, click on the  button to Edit an PMN.
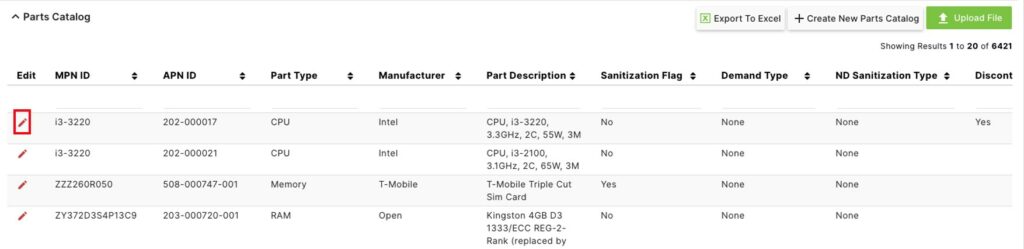
Update any of the fields for this MPN (MPN ID, APN ID, Part Type, Manufacturer, Part Description, Sanitization Flag, Demand Type, ND Sanitization Type, Discontinue Test Support, Repair Type, Fa Capability Type, RMA Type, Liquidation Type, Harvest Type, EXT MPN ID, Coo ID, WW Eligibility, or WW Priority Type) and click Save.