The Workflow second level page controls workflows in the system.
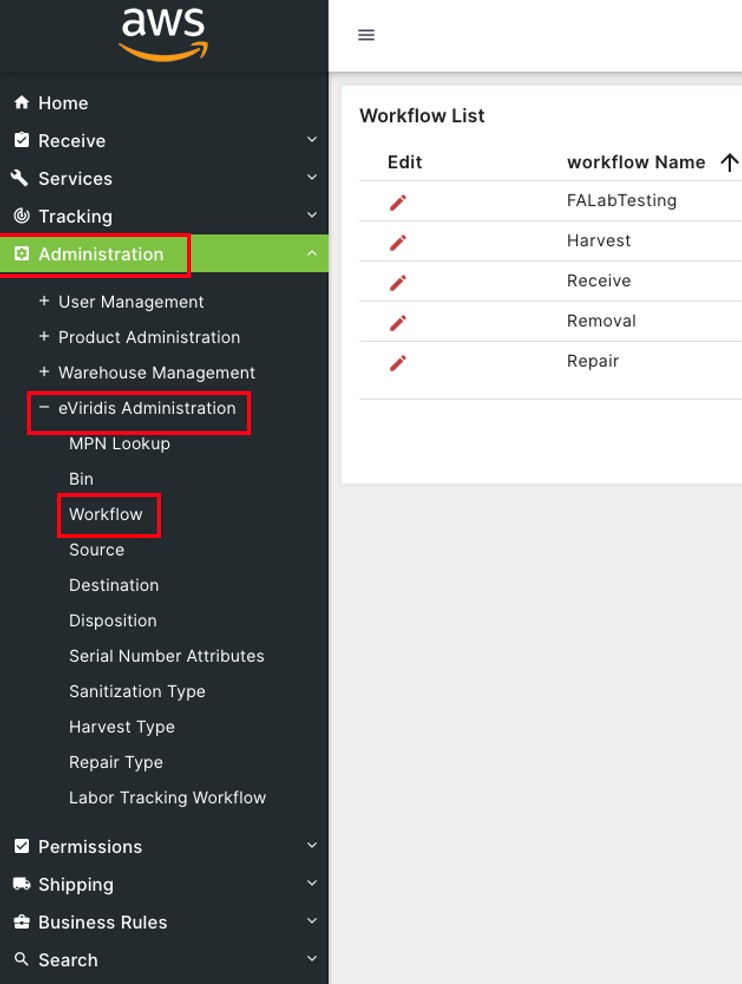
Click on Administration to open the sub-module list. Click eViridis Administration to open the second level page list. Choose Workflow.
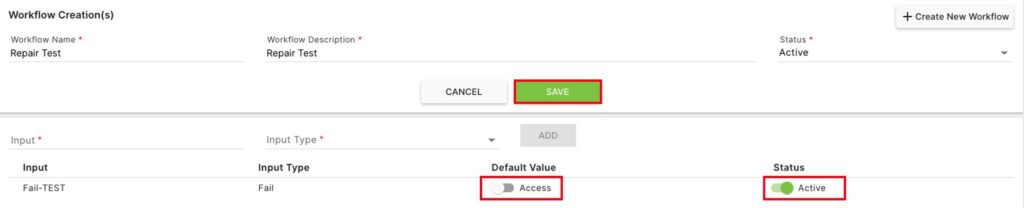
Click + Create New Workflow to add a new workflow to the system.

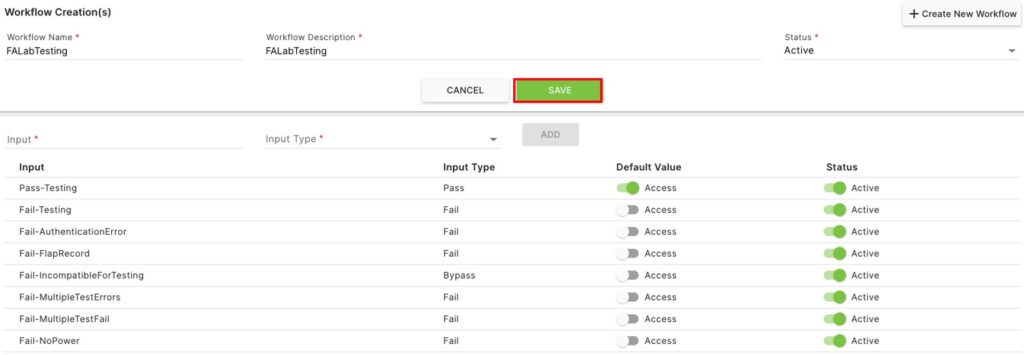
On the Workflow Creation(s) page, enter a Workflow Name and Workflow Description. Choose a Status from the drop-down and click Save.

Enter an Input and choose and Input Type from the drop-down. Click Add.

Click the  button under Default Value to turn it
  to make this the default.
Click the button under Status to turn it to make this the Active.
Click Save to return to the Workflow List.
On the Workflow List page, click on the  button to Edit a workflow.
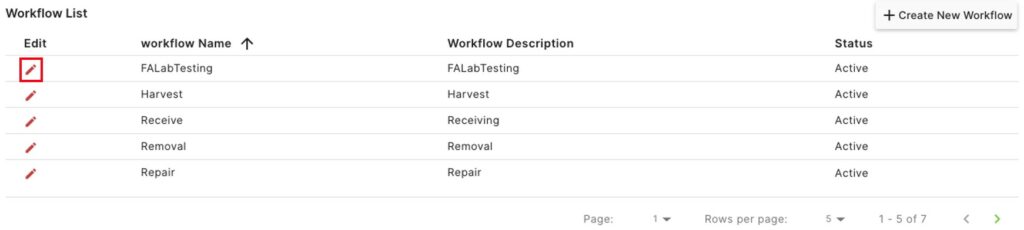
Update any of the fields for this workflow (Workflow Name, Work Station Description, or Status). Change the Default Value or Status of the Input and click Save.