This page details the parts harvesting workflow.
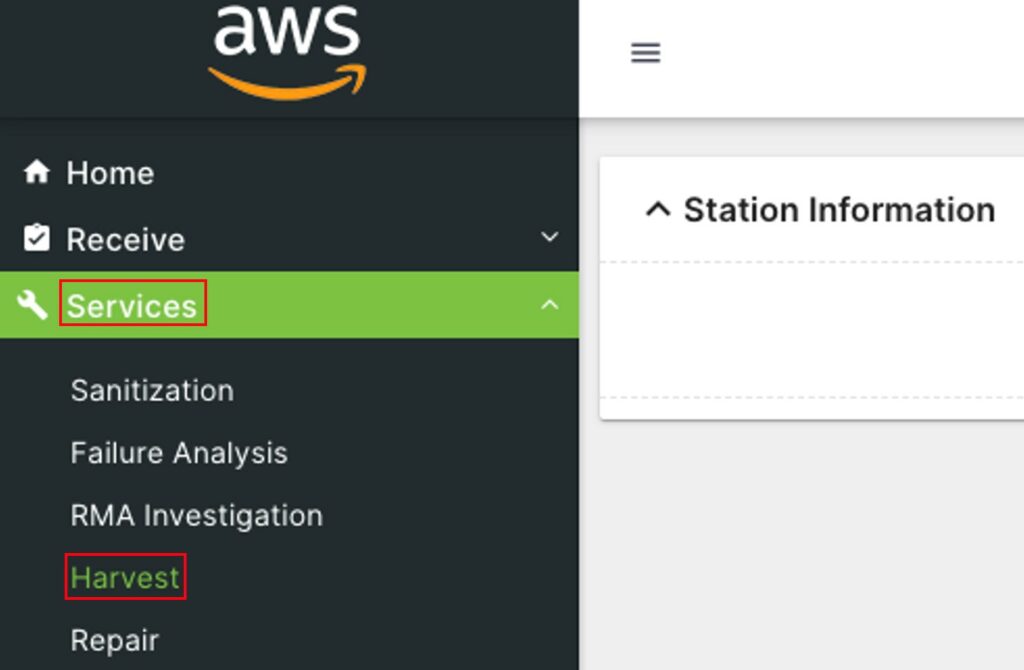
Click on Services to open the sub-module list. Choose Harvest.
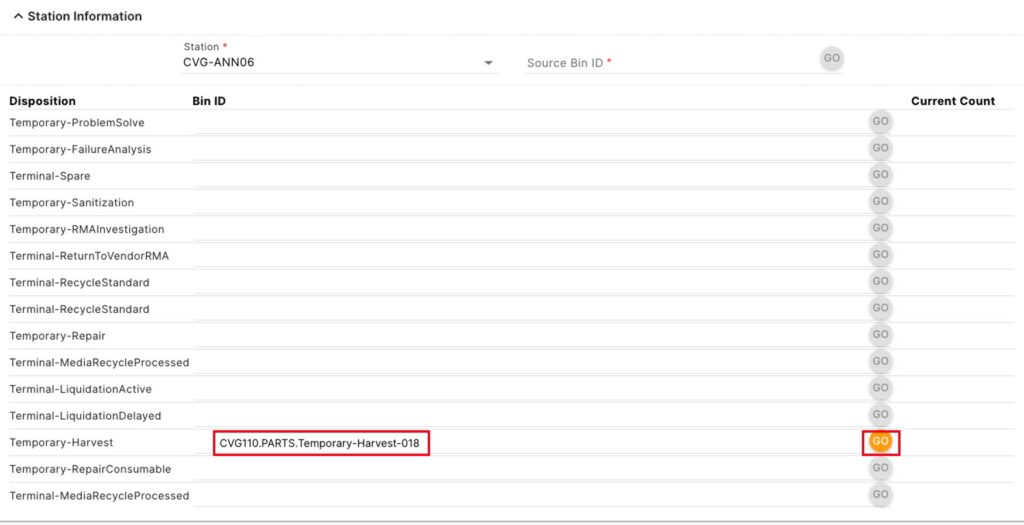
Choose a Station from the drop-down.

Enter a Bin ID and press Go once the button turns orange.
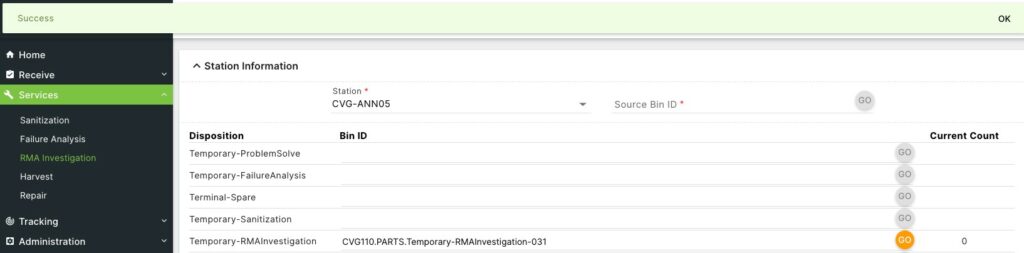
A green banner Success message will appear at the top of the screen if the bin is successfully added to the station.
A red Invalid Bin message will appear if the bin cannot be added to the station.
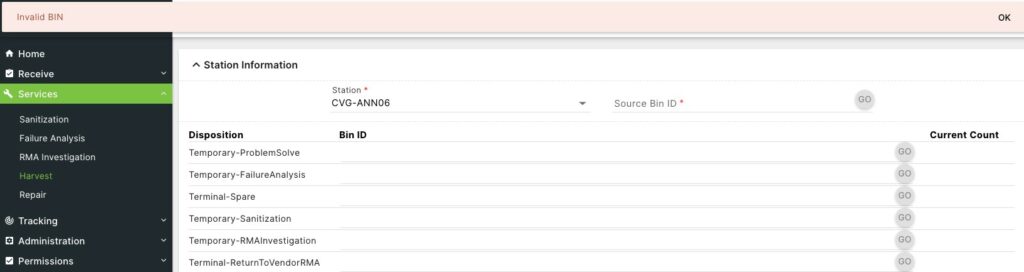
To enter information about assets within the bin at this station, enter the Source Bin ID of a bin at this station, and press the Go button once it turns orange.

The Harvest Records section at the bottom of the page will contain a list of the assets in the bin available to be harvested. To edit one of those assets or add an asset to the bin, enter the SN and click the  button once it turns orange, which will automatically fill in the details of this asset. Change the Harvest Result from the drop-down if desired. Once all the mandatory information (marked by the *) has been entered, click on the Save button that will have turned green.

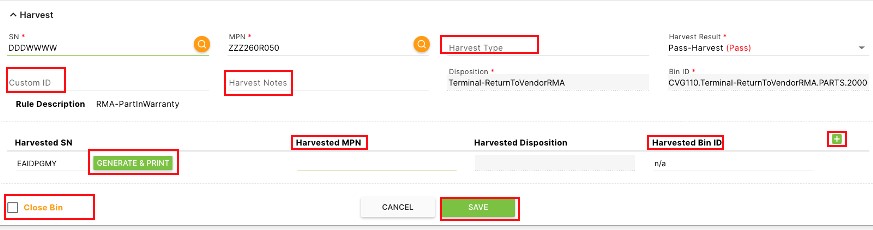
Optionally, before saving, enter further details.
Enter a Harvest Type, Custom ID, or Harvest Notes.
If there will be parts harvested from this asset click Generate and Print to create a Harvested SN. Enter a Harvested MPN, Harvested Bin ID for this newly created part.
Click the  button to add another Harvested SN line and repeat the above steps to create a new part.
Click the check box next to Close Bin.
Click Save once it has turned green.