This page allows users to enter the details to how the shipment will be sent out.
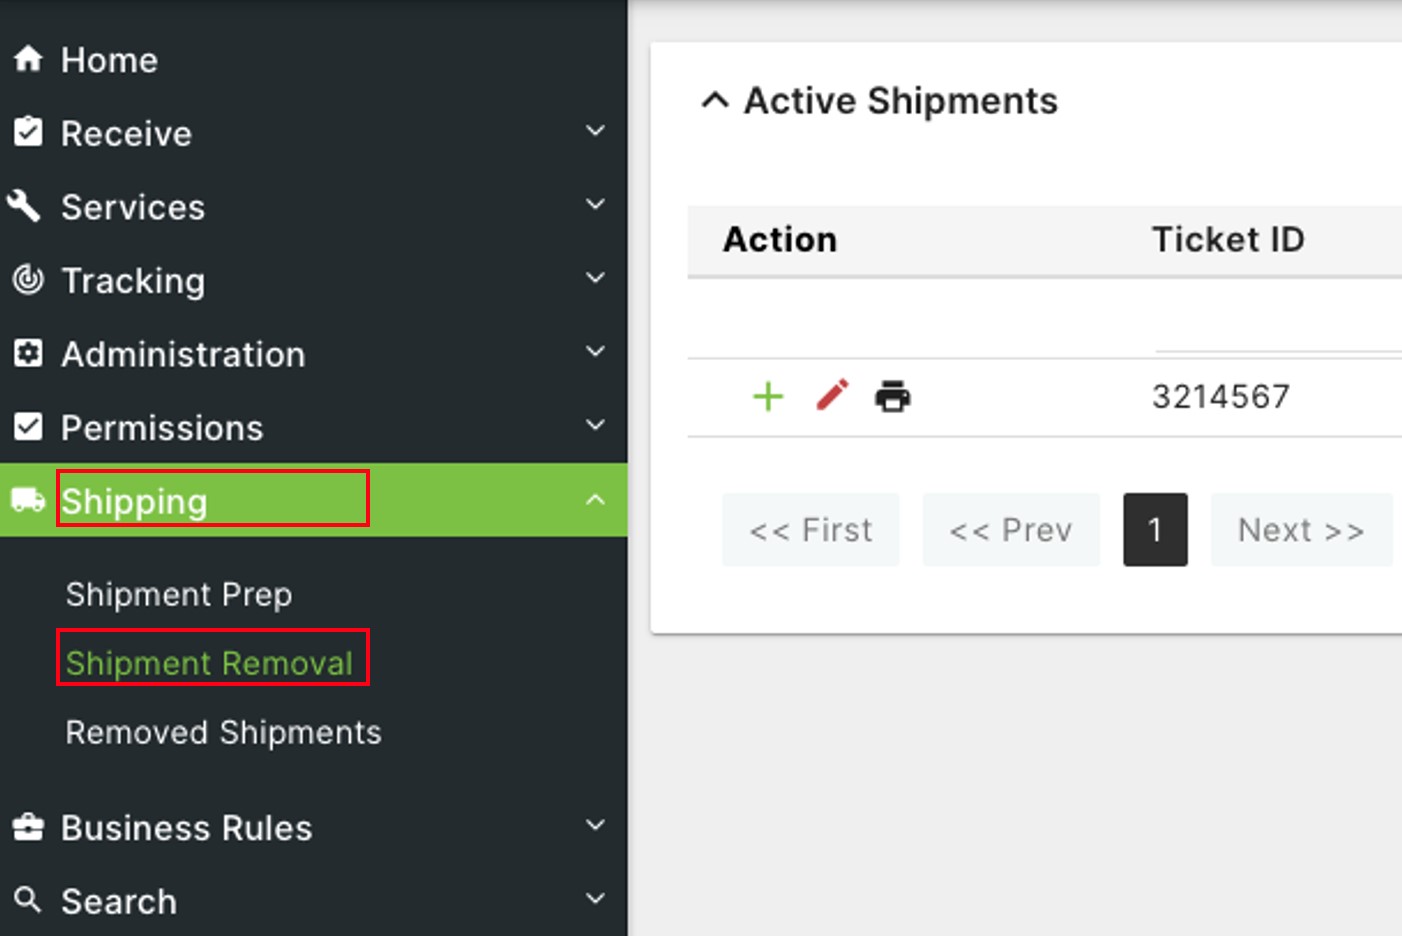
Click on Shipping to open the sub-module list. Choose Shipment Removal to enter details.
Click the  Print icon to print the tag for the shipment.
Click the red pencil Edit  icon.
icon.

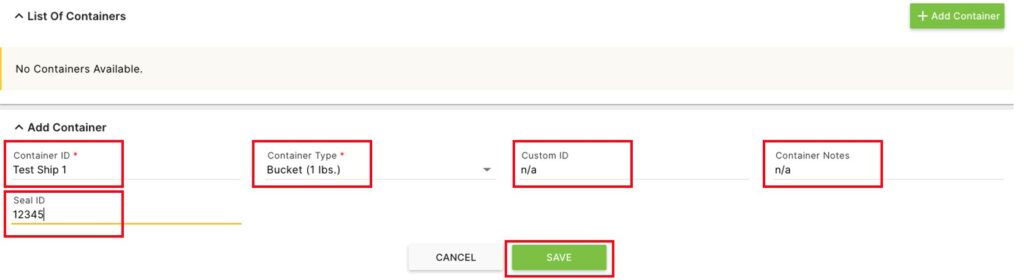
In the Shipment Details window that opens, click +Add Container if there are none available and assigned to this shipment.

Enter a Container ID, and choose a Container Type from the drop-down.
Optionally, enter a Custom ID, Container Notes, and a Seal ID.
Once the mandatory information has been entered, the Save button will turn green and will allow the user to finish adding the container.
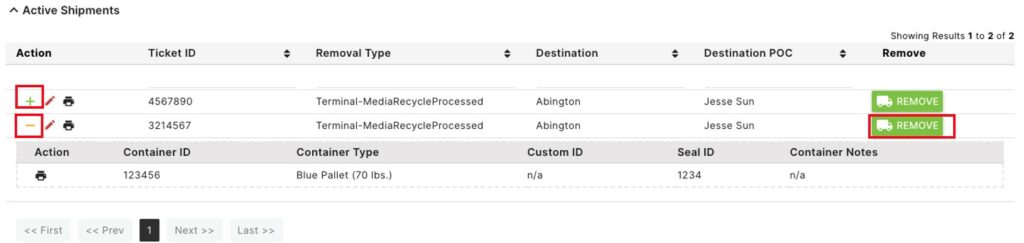
Back on the Shipment Removal page, click on the green +button to see the container details for the shipment. Press the orange – button to close the container details.
Click the green Remove 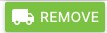 button to enter Shipment Removal details.
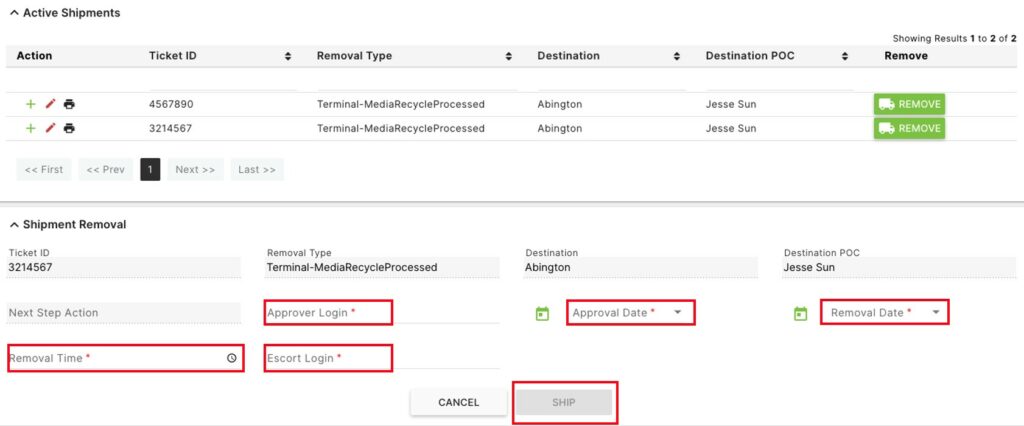
In the Shipment Removal details area, fill in the mandatory fields.
Enter an Approver Login and an Escort Login.
Enter the Approval Date and the Removal Date.
Enter the Removal Time.
Once sufficient information has been entered, click the green Ship button.